
I ordered a new book a few weeks ago.
I intend on using it quite a bit.
It's over 600 pages and filled with recipes.
Since much of the information is new, and important,
I wanted a way to make it a tad bit more durable.
I used to purchase laminated bookcovers for paperbacks.
This was over ten years ago.
I called all our local book stores and office supply stores with no luck.
I then went to google and did some research.
I found them in quantities of 25 for $60-70
but who needs that quantity?!
Being a creative girl,
I thought I would figure out something on my own.
I had laminating pockets
but you can't put a 600 page book in a laminating machine!
I thought Id recreate the process using an iron.
Here's how:
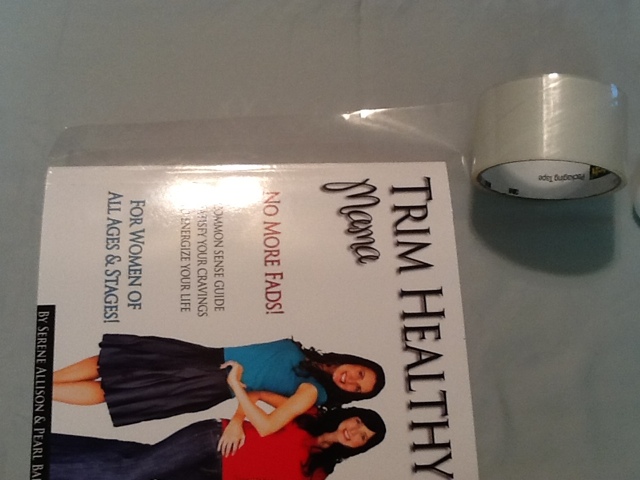
Grab your book, scissors, clear packing tape, two laminating pouches, your iron, ironing board, and a pillowcase. Plus a sheet of white copy paper.

Pull out your iron and set it on a medium heat, no steam.
Set up your ironing board and make sure you have a pressing cloth.
( I use a clean pillowcase.)
Next use clear packing tape on the spine.
This protects the spine and is flexible!
I placed two layers to be safe.
Trim if necessary.
Doing this first encases the tape in the laminating film.
Next I opened a laminating pouch and placed the front cover inside.
I made sure there was a border to seal the cover properly.


Place a sheet of white copy paper between the cover
sandwiched in laminating film
and the first page.
I didn't.

(See what happened, the heat transferred ink onto my cover. Oh well, Lesson learned)
Place your clean pillowcase on top of your closed book and iron,
start in the top corner and work down
like the laminating machine does -
to avoid bubbles and wrinkles
Check and continue this process until the page has turned clear
and is sealed.

See how I have opened the book
and done the inside of the cover as well?

(You might could try sealing the covers just using this step first to protect from ink transfer.)

Trim excess. (I leave a tiny bit so the page stays sealed)
Repeat on the back cover.


See how I have made sure the pocket has sealed the book cover inside?
Now you are set!

now you are ready to trim the back page.

Disclaimer: I can't guarantee the durability of this
but I feel pretty good about it!
I've laminated things for school
and they are still working well.
It sure does beat having to order 25 book covers.
Or end up with a damaged book!
(I will keep you posted on my success using THM!)
No comments:
Post a Comment
Thank you for stopping by. We would love it if you left a comment.